
When you think about home renovations, ceilings often get overlooked. Yet, a tired or damaged ceiling can make even the best-kept home feel dated. A ceiling reno (ceiling renovation) is one of the most effective ways to refresh your interiors, improve insulation, and add value to your property.
Whether you’re dealing with cracked plaster, sagging gib, or just want to modernise the look, here’s a practical guide to understanding the ceiling renovation process — plus some tips on how to make it efficient and stress-free.
Step 1: Assess Your Ceiling
Start by identifying what needs attention. Common issues we see in Hawke’s Bay homes include:
- Sagging or bowed ceilings caused by age or moisture
- Cracks in plaster or gib from movement in the home
- Water damage from roof leaks
- Outdated textures like stipple or popcorn finishes
Tip: If there’s a leak or structural issue, fix that first before starting cosmetic work.
Step 2: Plan the Design
A ceiling reno is also a chance to update the look of your home. Some popular options include:
- Smooth, painted gib for a clean modern finish
- Exposed beams for character homes
- Feature ceilings with panels, battens, or even timber finishes
- Adding insulation or acoustic panels for better comfort
Tip: Consider future lighting and wiring when planning your ceiling — it’s easier to run cables during reno than later.
Step 3: Set a Budget
The cost of a ceiling reno depends on the size of the area, the level of damage, and the finish you’re after. On average in Hawke’s Bay, you might expect:
- Basic ceiling repair: from $500–$1,500
- Full replacement & repainting: $2,000+ depending on room size
- Feature ceiling designs: extra depending on materials
Tip: Always allow a buffer in your budget — hidden damage (like water-stained framing) is common.
Step 4: Remove or Repair the Old Ceiling
Depending on the condition, your ceiling may need patch repairs or a full strip-out. This step involves:
- Removing old gib or plasterboard
- Checking framing and insulation
- Disposing of waste safely
At Total Renovations, we manage this entire process, ensuring the space is prepared properly before the new ceiling goes up.
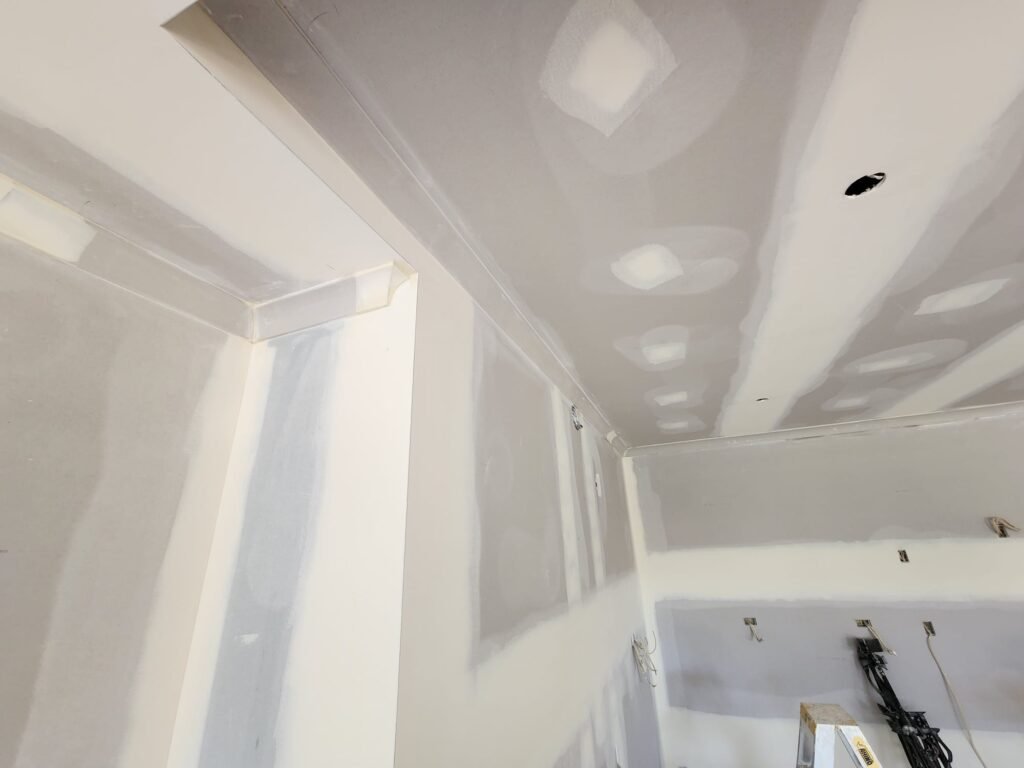
Step 5: Installation and Finishing
Once the site is ready, the new ceiling is installed. This usually includes:
- Fixing new gib or panels
- Stopping, sanding, and plastering joints
- Applying undercoat and topcoat paint
Tip: Use durable, moisture-resistant materials in kitchens, bathrooms, and laundry areas.
Step 6: Add the Final Touches
This is where your ceiling reno comes to life. The final paint finish, feature trims, or lighting fixtures make all the difference in elevating the space.
Tips for an Efficient Ceiling Reno
- Hire professionals: Ceiling work requires skill to get a smooth, seamless finish.
- Time it right: Book in advance — ceiling work is often in demand during winter and spring.
- Think big picture: Pair ceiling reno with lighting upgrades or insulation for long-term savings.
- Stay local: A Hawke’s Bay team like Total Renovations knows the region’s building styles and conditions, making the process faster and easier.
Why Choose Total Renovations?
At Total Renovations, we take care of the entire ceiling reno process — from inspection and design to installation and painting. Our team combines experience with a local touch, ensuring your home not only looks better but functions better too.
No stress, no shortcuts — just high-quality workmanship that lasts.
Ready to refresh your home with a ceiling reno?
Talk to the Hawke’s Bay team at Total Renovations today.